Ghillie Suit Construction Part 3
If you want hands-on training in the marksmanship and fieldcraft skills of military snipers, including building your own ghillie suit, check out our SniperCraft class schedule.
In Ghillie Suit Construction Part 1 and Ghillie Suit Construction Part 2, you prepared a set of BDU’s and a boonie hat. The hat should have the vent on the top and netting attached. The BDU top should have netting attached on the back side with a nice big ventilation hole on the back as well. And the BDU bottoms should have netting attached to the back side from the waistline to the bottom with the bottoms a bit long.
Now let’s complete the front sides of the top and bottom BDU’s. At the end of part 2, you should have had a friend draw a dotted line around your forearms at approximately the point where your arms are making contact with the floor. Let’s take a look at that dotted line on one arm at a time. This is the line and shape that you will use to cut a piece of your cheap yoga mat. I have found it helps if you can make a template out of a piece of paper. It doesn’t have to be exact, just get it as close as you can. Using that template, simply cut a piece of padding. Then lay your canvas over the template and cut a piece of it at least 1 inch larger than the template. This canvas piece will cover the padding. The next step is to get one arm of the BDU laid out so you can glue the padding onto the arm within the dotted line. I let that glue set up for a little bit, usually while I work on the other arm. Once the pads are in place on both arms, glue the canvas over the padding. Make sure to glue the canvas it all the way around the pad and onto the 1-inch overlay. You may want to find something heavy to lay on the canvas to hold it in place while the glue dries. Take a break, let this part dry a little.
Now, make a template for each side of the chest area on the front of the BDU. You do not need to start with dotted lines on this area or on the front of the pants. The chest templates should be sized to cover from the middle of your pecks to your belly button and can be 6 to 8 inches wide depending on your body shape and size. Just as with the arms, cut and glue the padding to the BDU. Cut oversized canvas to cover the padding and glue it down.
Now let’s do the front of the BDU pants. This is very simple. Cut padding that will cover your thighs, it’s your call if you want to do the knee area or not. Some snipers use knee pads under their pants, some add them now. Your knees don’t tend to get beat up much while stalking. I personally have no knee padding on my suit and I don’t wear knee pads.
To make the pants you follow the same steps as with the jacket. Make a template that will cover much of your thigh area, cut the padding and canvas as explained earlier, and attach it. All this canvas that is attached to your suit where your body contacts the ground is designed to make it easy to “slide” across the ground. A nice smooth, tough material that won’t get hung up on rocks, sticks, vegetation etc. Let all this dry overnight and get ready to tackle the hard part.
Now that you have the base suit completed its time to attach the jute and/or burlap. This is where I recommend that you save some time and order your jute and dye from Tactical Concealment. I order plain natural jute bundles and their dye kit. Now you can dye your jute in many different shades of green, tan, brown, etc. in 5-gallon buckets. Just follow the direction that comes with the dye kit for this part of the process. Once your jute is colored and dried it is ready to be used.
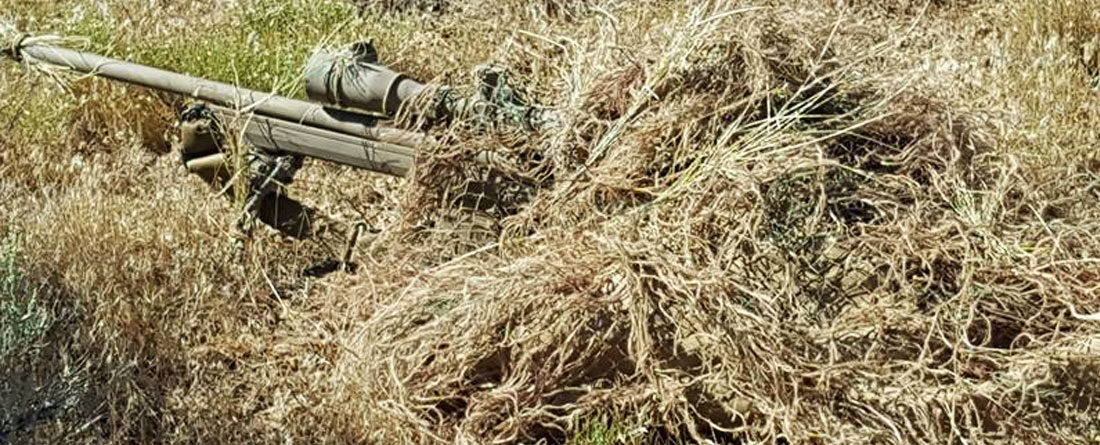
This is the time-consuming part of the process. I usually do this while I’m watching a movie or a baseball game. You will spend upwards of twenty or more hours on this part. In this step, you will be attaching the jute strands to the netting on the suit. I use the “loop and thread through” knot so I can easily remove the jute if needed. As you start tying jute strands on, make sure you are varying lengths and colors. You can grab three strands of different colors and lengths and tie them on together. You will need to attach jute on all the netting on the suit. Just make sure it is NOT TOO THICK! This is a common error that some first-timers make. You must leave room on in the netting for natural vegetation from the area where you will be stalking. You will snip natural vegetation from bushes, trees, and grasses and attach them to your suit. This natural material is far more important than the jute. Some snipers will rip some burlap into small strands and attach that as well. Burlap has a very “earthy” look to it and looks better as it gets torn up.
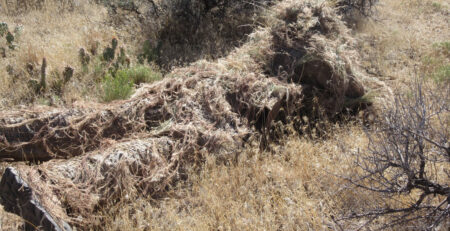
Now that you have spent hours and hours building your ghillie suit, it’s almost ready to use. Most snipers will take their completed ghillie suit out and drag it around in the dirt to try to get it dirty and let the net pick up small pieces of whatever. This will make the suit look even more natural. And after a couple of stalks, especially over some wet dirt or other nasty terrain, the suit will blend in better than ever.
Make sure to cruise around on our website and look at some of the ghillie suits our students are wearing. Look at the vegetation that is attached. Check out the padding locations. You can learn a lot by looking at others’ techniques.

